Want to Give Your Wood Furniture a Luxe Upgrade? See the Stunning Difference of Changing Natural Wood Color to Darker Wood Stain – Before and After Results Inside!”
Darkening the natural color of wood with a stain is a transformative process that enhances its appearance, adding depth, richness, and a refined aesthetic to your furniture or flooring. Here’s a detailed breakdown of this process to attract and engage readers interested in home improvement and woodworking.
Wood can go from bland to bold with just a few brush strokes, transforming your home’s vibe in an instant. Changing natural wood color with a darker wood stain can add depth, warmth, and sophistication to any space, making old furniture look brand new. In this blog, we’ll show you exactly how a darker stain can turn your pieces into statement-makers. Dive into our before-and-after showcase and discover the secrets to achieving that high-end look with minimal effort!
Why Choose a Darker Stain?
Opting for a darker wood stain offers several benefits. It adds sophistication to the overall look and emphasizes the wood’s natural grain, making it a standout feature in your space. A darker stain can also help older furniture or surfaces look more modern and can cover up imperfections while creating a warm, inviting atmosphere.
Benefits.
1. Enhanced Visual Appeal
A darker stain highlights the natural grain and texture of the wood, creating a more luxurious and sophisticated appearance. It adds depth and richness to the wood, making it a focal point in any space.
2. Modernized Look
Darker stains can make older or worn-out furniture and flooring look more modern and updated. This can be an effective way to refresh a space without investing in entirely new pieces.
3. Hides Imperfections
Wood with minor imperfections, scratches, or uneven coloring can benefit from a darker stain. It camouflages blemishes, giving a smoother, more even look to the surface.
4. Versatile Design
Dark-stained wood pairs well with various design styles, from contemporary to traditional. It complements lighter-colored furniture and decor, providing a striking contrast that enhances overall room aesthetics.
5. Warm and Inviting Atmosphere
Darker wood tones create a sense of warmth and coziness in a space, making it more inviting. This is particularly beneficial for living rooms, dining areas, and other spaces where comfort is key.
6. Increased Perception of Value
Furniture and wood surfaces with a deep, rich stain often appear more high-end and valuable. This can increase the perceived worth of your home’s interior or furnishings.
7. Long-Lasting Appeal
Darker stains are less likely to show dirt, wear, and fading compared to lighter stains or untreated wood. This makes them ideal for high-traffic areas and furniture pieces that see regular use.
Process
Preparation: Setting the Stage
The success of any wood staining project hinges on thorough preparation, which sets the stage for a seamless, professional finish. Begin by meticulously cleaning the wood surface to remove dust, grease, and any residual finishes that might impede the stain’s absorption. This step ensures a fresh canvas for the stain to penetrate evenly. Next, use fine-grit sandpaper to gently sand the surface, opening up the wood pores and creating a texture that promotes even staining.

This process not only smooths the surface but also exposes the true grain, enhancing the wood’s natural beauty once stained. After sanding, use a tack cloth to wipe away any fine debris or sanding residue, ensuring a spotless and dust-free surface. This attention to detail in preparation is crucial, as it lays the foundation for uniform color absorption and helps prevent streaks or blotches. Investing time in these preparatory steps guarantees a rich, flawless finish that enhances the depth and character of the wood, resulting in a beautiful, enduring transformation.
Choosing the Right Stain
Selecting the right stain is pivotal for achieving the desired outcome in any wood-staining project. The choice between oil-based and water-based stains can significantly impact both the application process and the final look.

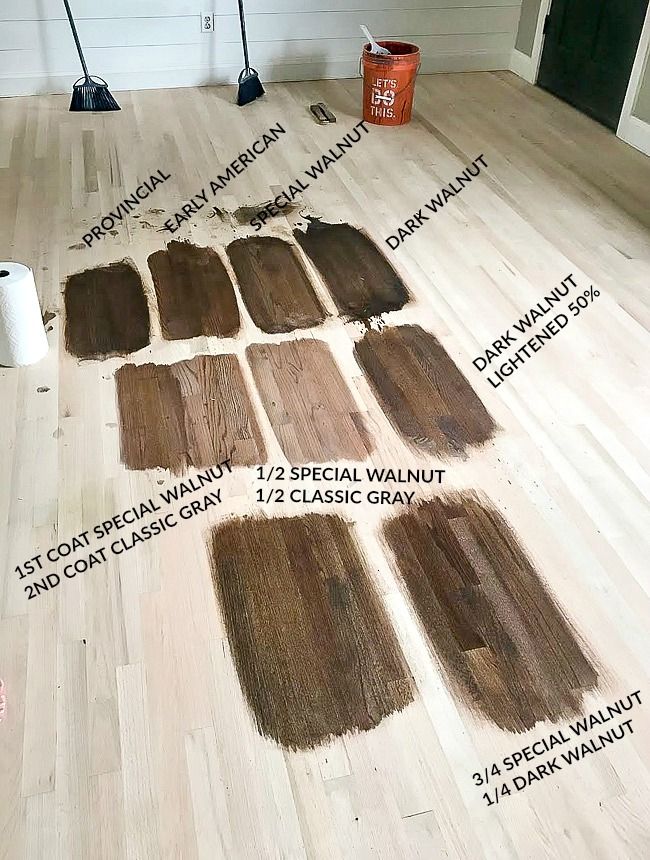
Oil-based stains are known for their deep penetration and rich, enduring color that highlights the natural grain of the wood, making them ideal for larger projects or high-traffic surfaces. They offer a longer working time, allowing you to perfect the application before it dries, but they do come with a longer drying period and a stronger odor. On the other hand, water-based stains are valued for their quick-drying properties, lower odor, and eco-friendliness. They are perfect for indoor projects or when you need a faster turnaround, though they may require more precise application to avoid lap marks. Whether you choose to polish furniture at home with oil-based or water-based stains, selecting the right color is just as crucial as choosing the type of stain. Darker shades can add warmth and sophistication, while lighter stains maintain a more natural and airy feel. To avoid surprises, always test the stain on a scrap piece of wood or an inconspicuous area to see how it reacts with the wood type and ensure it aligns with your vision. The right stain not only brings out the character and beauty of the wood but also adds depth, value, and personality to your finished project, turning it into a piece that enhances the overall aesthetic of your space.
Applying the Stain
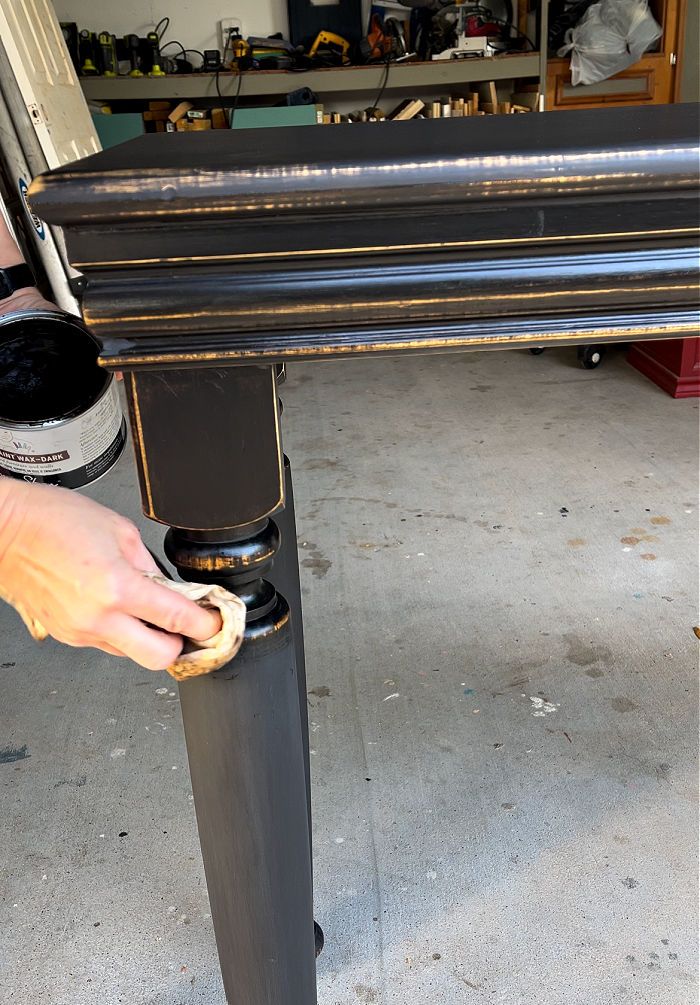
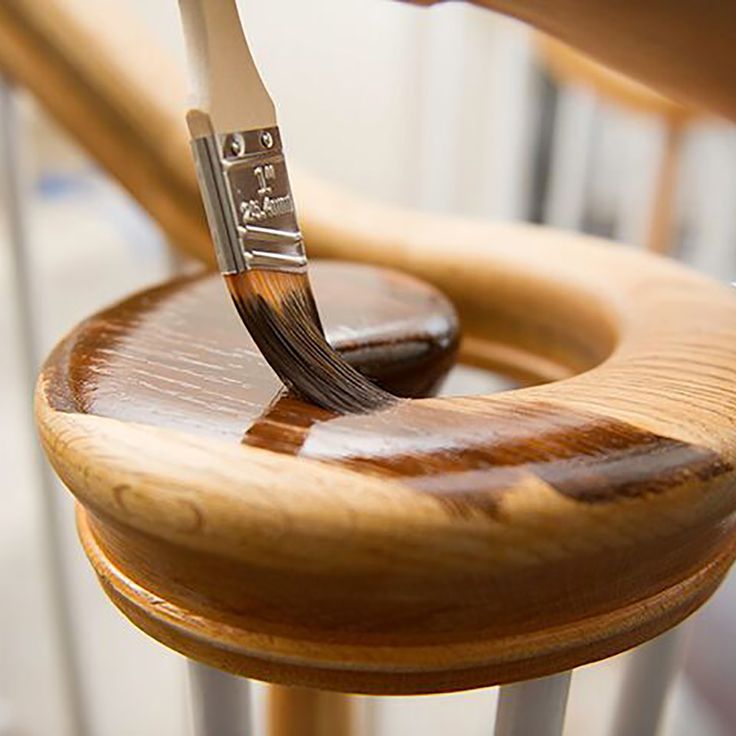
The application of stain is where your hard work in preparation truly comes to life. Begin by choosing the right applicator—whether it’s a brush, cloth, or sponge, each method offers unique benefits depending on the look you want to achieve. When applying the stain, always work in the direction of the wood grain to enhance its natural flow and avoid streaks or uneven patches.

Apply the stain in thin, even layers, allowing it to soak into the wood without overwhelming the surface. Be mindful of the timing; after applying the stain, let it sit for a few minutes to ensure it penetrates deeply, then wipe off any excess with a clean, lint-free cloth. For a deeper, more intense color, apply additional coats, allowing each layer to dry completely before the next application. This technique ensures a rich, uniform finish and prevents blotching. During the application process, consistency is key—work in manageable sections to avoid overlap marks, and always keep an eye on the drying time to ensure the stain stays fresh and workable. A well-applied stain not only enhances the wood’s beauty but also creates a durable, long-lasting surface that will maintain its allure for years to come.
Before and After: The Transformation
The transformation of wood from its natural, untreated state to a beautifully stained finish is nothing short of remarkable, especially when refinishing furniture.

Before staining, the wood may appear plain, light, and lacking depth, with its grain and texture often muted or obscured by age, wear, or imperfections. The “before” look can be unremarkable, with uneven coloring or faded tones that fail to bring out the wood’s true beauty. However, after applying the right stain, the difference is striking. The stain enhances the wood’s grain, enriching its color and adding depth that was once hidden. Darker shades can bring warmth and sophistication, while lighter stains can provide a fresh, modern feel. The “after” result is a stunning, polished piece that radiates character and elegance, with the natural features of the wood—such as knots, rings, and texture—accentuated. This transformation not only elevates the visual appeal of the furniture but also adds durability, ensuring the piece lasts for years. The before and after shift in the piece is a clear demonstration of the power of refinishing furniture, turning an ordinary piece into an extraordinary work of art.
Sealing the Finish
Sealing the finish is an essential step to ensure the long-lasting beauty and durability of your newly stained wood or polished concrete floors. After the stain has dried, applying a high-quality sealant acts as a protective barrier that shields the surface from moisture, scratches, and everyday wear

This step is particularly crucial for high-traffic areas, where unprotected surfaces can quickly become worn or damaged. The choice of sealant—whether polyurethane, varnish, or a specialized concrete sealant—will depend on the type of surface and desired finish, such as matte, semi-gloss, or high-gloss. For polished furniture at home, the sealant not only preserves the sleek, refined look but also enhances the color depth and provides a stain-resistant coating that makes maintenance easier. Applying the sealant evenly with a brush or roller ensures consistent coverage, locking in the stain beneath and giving the surface a finished, professional touch. Allow the sealant to cure fully, as rushing this step can compromise the durability and final appearance. The result is a surface that not only looks immaculate but also withstands the test of time, combining function with aesthetic appeal.
Tips for Success
- Test First: Always test the stain on a scrap piece of wood or an inconspicuous area to ensure the color matches your expectations.
- Consistent Application: Apply the stain evenly to avoid blotches or streaks.
- Ventilation: Work in a well-ventilated area to avoid inhaling fumes, especially when using oil-based products.
conclusion
Changing the natural wood color with a darker stain is a rewarding process that revitalizes furniture or flooring, enhancing your home’s ambiance. Whether you’re looking to update an antique table, refinish cabinets, or give your floors a new look, following these steps ensures a beautiful, polished result.


