Imagine walking into a room that feels fresh, stylish, and completely yours—without spending a dime. What if the secret to transforming your space was as easy as a paintbrush?
Painting furniture isn’t just a DIY trend; it’s a powerful way to breathe new life into old pieces and make your home truly unique. Whether you’re a seasoned DIYer or just starting out, painted furniture opens up endless creative possibilities.
Benefits of Painting Furniture
Painting furniture offers a variety of benefits that go beyond mere aesthetics, making it a favorite among DIY enthusiasts and homeowners looking to spruce up their spaces.First, it’s an affordable way to update your furniture.. Instead of spending money on brand new furniture, you can breathe new life into old, damaged, or outdated pieces with a few coats of paint. This not only saves money but also allows you to create something that perfectly complements your decor.
Another important benefit is its eco-friendliness. Repurposing old furniture by painting it reduces waste and contributes to a more sustainable lifestyle. Instead of throwing something away, you’re giving it a second chance, keeping it out of landfills, and reducing the environmental impact of making new pieces.
Painting furniture also enables customization like no other renovation method. You have complete creative control over colors, patterns, and finishes, allowing you to match your furniture to your unique taste and style. Painted furniture allows you to create anything from a bold centerpiece to a subtle accent for your room.
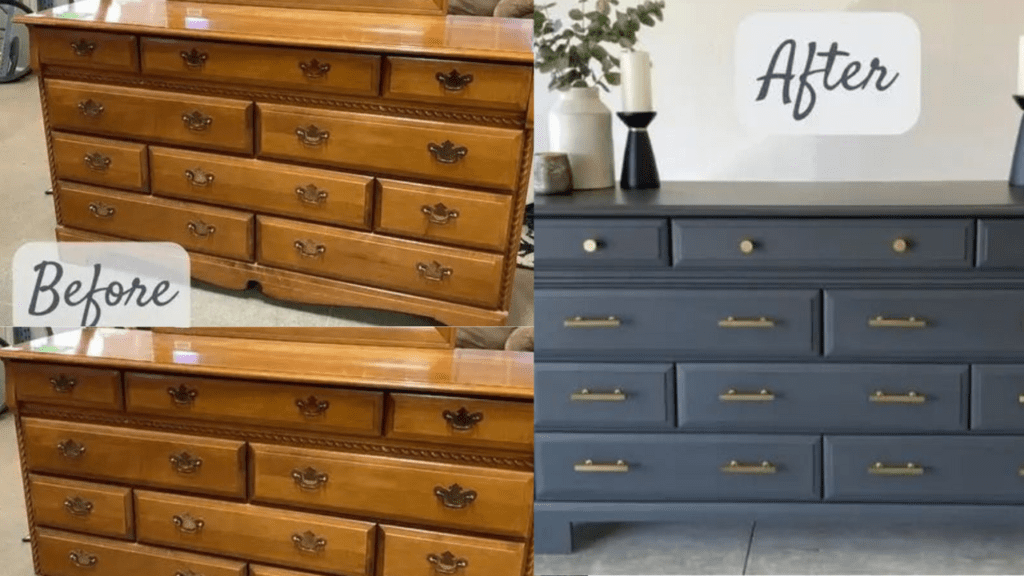
Plus, it’s incredibly versatile and adaptable. You can easily match or contrast your furniture with your existing interior design by choosing the right colors and techniques. And if you’re looking for a rustic or vintage touch, you can combine painting with other refinishing techniques, such as ” Bleaching wood ” to achieve a distressed or light finish.
Ultimately, painting furniture is a rewarding and fulfilling experience. The process allows you to express your creativity while transforming a neglected piece into something beautiful and functional. This is a project that adds character to your home and offers a sense of accomplishment every time you admire your craft.
Tools and Materials Needed
Paint types (chalk paint, acrylic, latex, etc.)
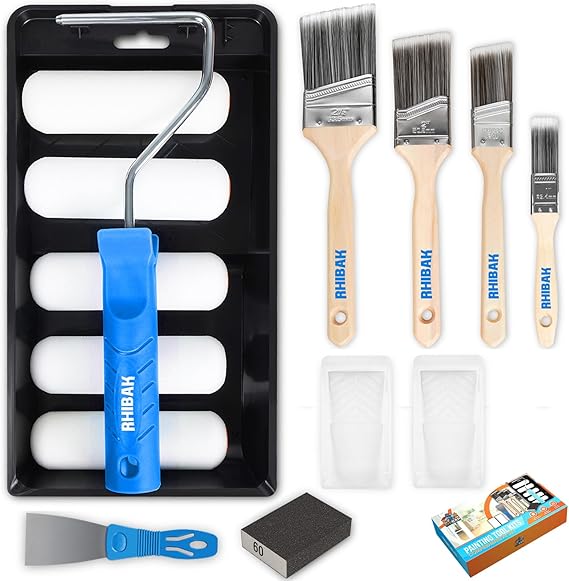
Choosing the right paint type is crucial for a successful furniture makeover. Chalk paint is popular for its matte finish and ease of use, requiring minimal prep work. Acrylic and latex paints are versatile options, offering durability and a wide range of colors to suit any style.
Buy now
Step-by-Step Guide to Painting Furniture
Choose the Right Piece
Choosing the right piece of furniture is the foundation of a successful painting project. Start by assessing the condition of the item—look for sturdy, well-constructed furniture that doesn’t have serious structural damage. While minor scratches or dents can be easily repaired, pieces with deep cracks or weak joints may require additional work before painting. Also, consider the material; solid wood or MDF (medium-density fiberboard) are ideal surfaces for painting, as they hold paint well and provide a smooth finish. Think about how the piece fits into your space and the overall design vision you have in mind. Whether it’s an old dresser, a coffee table, or a dining chair, everything has the potential to be a stunning feature. If you’re not sure where to start, check out our guide on Refinishing Furniture at Home for helpful tips and ideas.
Prepare the Surface
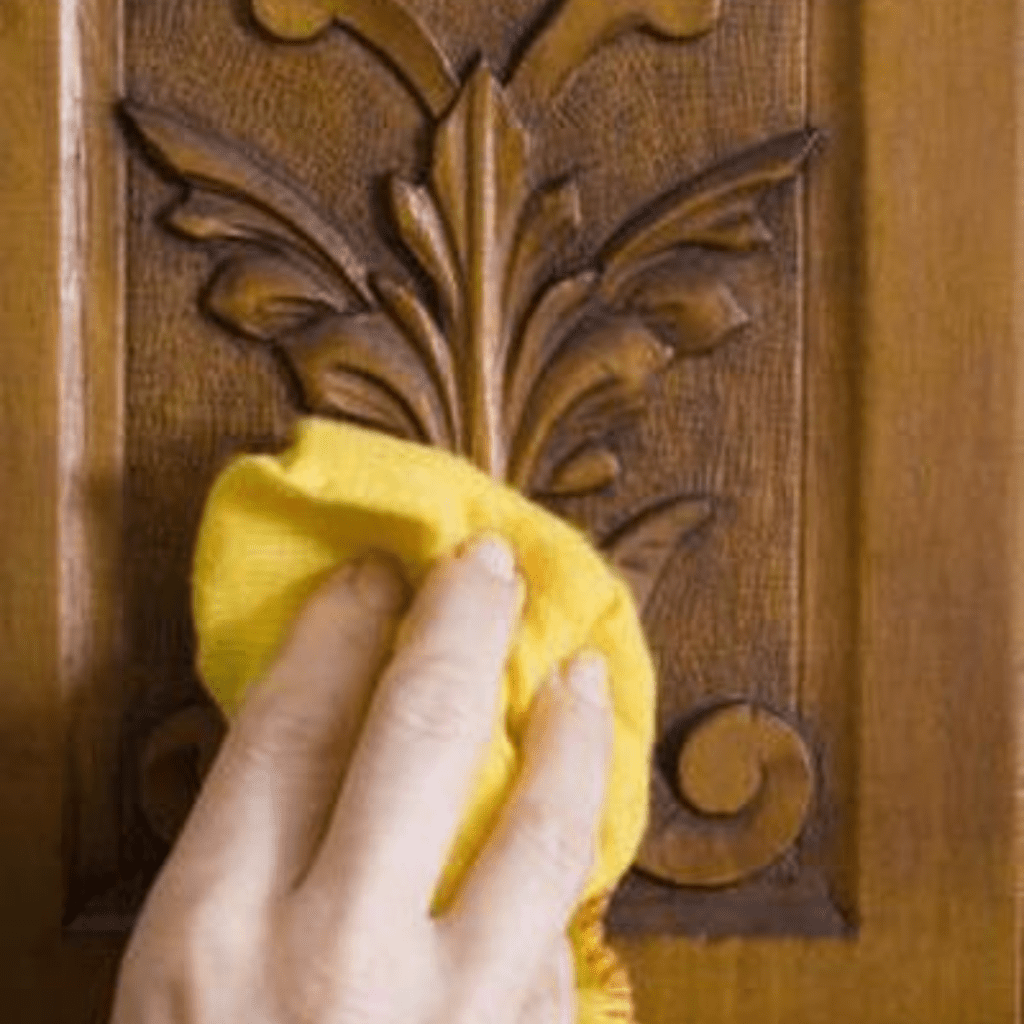
Properly preparing the surface is a key step in ensuring that your painted furniture looks polished and lasts a long time. Start by thoroughly cleaning the piece to remove any dirt, grease, or residue that might interfere with paint adhesion. If the surface is particularly rough, consider using similar techniques to tackle very dirty laminate flooring to ensure a spotless start.
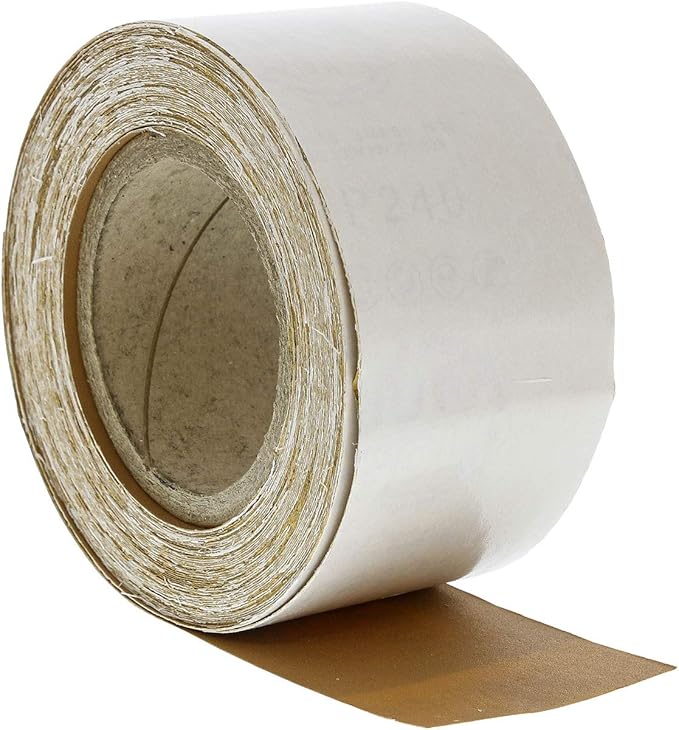
Once cleaned, inspect the furniture for any rough spots or imperfections. Use sandpaper to smooth the surface, focusing on removing old paint or varnish if necessary. For laminate or glossy finishes, light sanding helps the new paint stick better. Finally, apply a primer according to your paint type to create a strong base and enhance the final color. Skipping this step can result in an uneven finish, so take the time to properly prepare your surface for professional-looking results.
Pick the Paint and apply
Choosing the right paint and applying it correctly are key steps to achieving a beautiful, durable finish on your furniture. Start by considering the type of furniture and the look you want to achieve. Chalk paint is ideal for a matte, vintage look and requires minimal preparation, while acrylic or latex paints are best for a modern, durable finish with a wide range of colors.
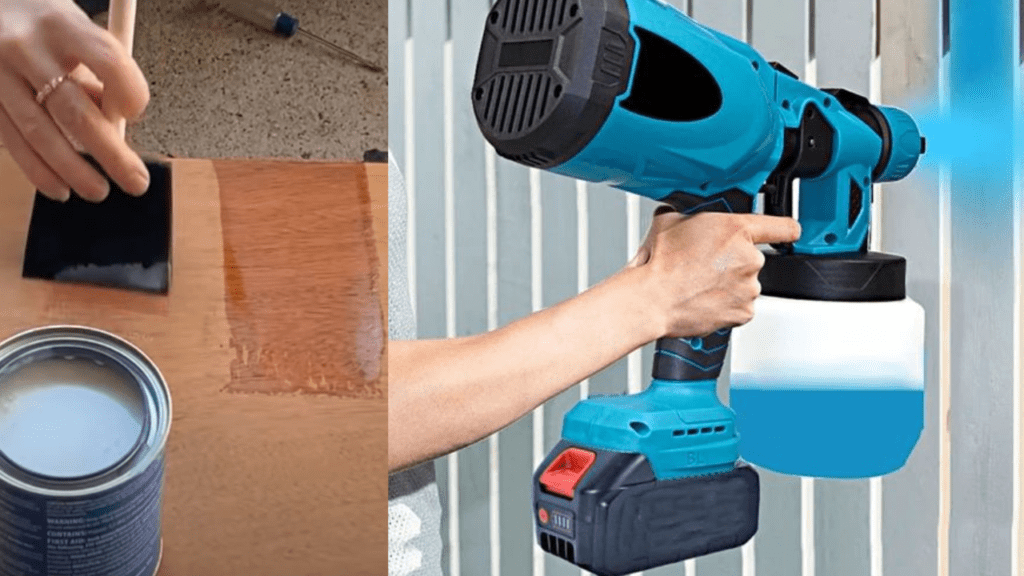
For furniture that gets a lot of use, choose a high-durability or furniture-specific paint. The finish—matte, satin, or gloss—also plays a role; matte offers a smooth, less obvious look, satin provides a subtle shine, and gloss adds a reflective touch. Once you’ve chosen your paint, ensure proper application by using the right tools: a brush for detailed areas, a roller for flat surfaces, or a spray gun for a very smooth finish. Shake the paint well and apply thin, even coats, allowing each to dry completely before adding the next. Lightly sand between coats with fine-grit sandpaper for a polished look. Whether you’re aiming for a bold centerpiece or a subtle accent, these steps will ensure your furniture looks great and can withstand everyday use.
Seal the Finish
Sealing the finish is the final and essential step to protect your painted furniture and increase its durability. A good sealant not only protects the paint from scratches, stains, and everyday wear, but also gives the piece a polished, professional look.
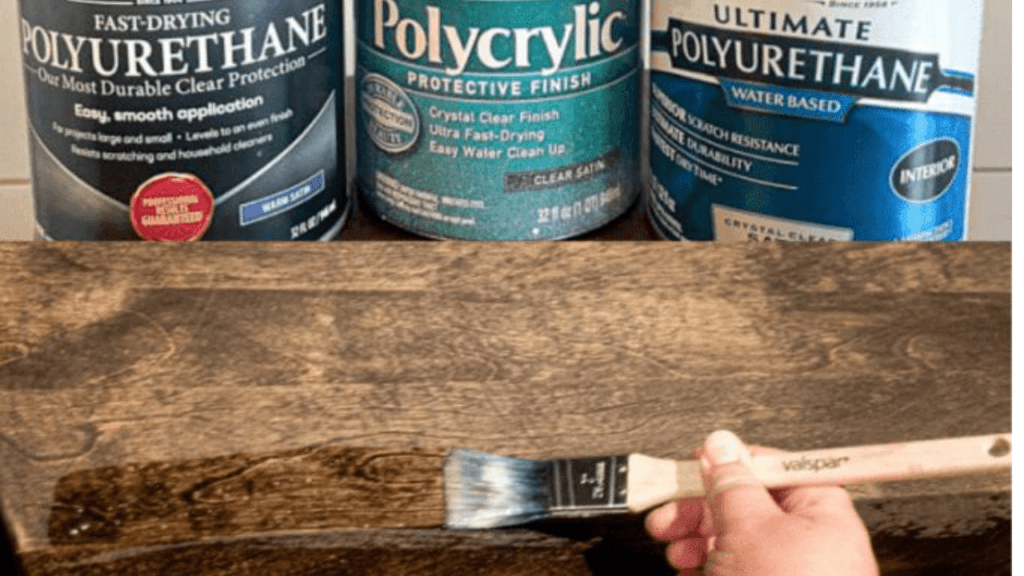
Depending on the type of paint and the look you want, you can choose between different sealants, such as polyurethane, polyacrylic, or wax. Polyurethane, which is available in both water-based and oil-based forms, provides a hard, long-lasting coat and is ideal for high-traffic pieces like tables or chairs. Polyacrylic is a water-based option that dries quickly and works well for light colors, as it does not yellow over time. Wax, which is commonly used with chalk paint, adds a soft, velvety sheen and is great for achieving an aged or distressed look. When applying sealant, use a high-quality brush, sponge, or cloth to ensure an even coat. Be sure to follow the manufacturer’s drying and curing instructions to allow the sealant to fully harden. By sealing the finish, you not only preserve the beauty of your painted furniture but also ensure that it remains a functional and attractive part of your home for years to come.
Creative Ideas and Inspirations
- Ombre Effect: Blend two or more colors seamlessly to create a stunning gradient look on your furniture.
- Distressed Finish: Sand the edges and corners after painting to achieve a rustic, shabby-chic vibe.
- Stenciled Patterns: Use stencils to add intricate designs like florals, geometric shapes, or motifs for a customized touch.
- Metallic Accents: Incorporate gold, silver, or bronze paint to add a luxurious and elegant feel to your piece.
- Two-Tone Furniture: Paint the top and base of a table or cabinet in contrasting colors for a modern and bold style.
- Chalkboard Paint: Turn any surface into a writable area, perfect for kids’ furniture or a creative kitchen piece.
- Decoupage Details: Use patterned paper or fabric to add unique textures and designs sealed with a protective coat.
- Color Blocking: Divide your furniture into sections and paint each with complementary or bold contrasting colors.
- Natural Wood and Paint Combo: Leave some areas unpainted to showcase the natural wood grain, adding a modern, rustic charm.
- Bold Statement Pieces: Use bright, unconventional colors like teal, mustard yellow, or deep purple to make your furniture pop.
Common Mistakes to Avoid
- Skipping the preparation step can result in uneven and unprofessional finishes.
- Using paint that isn’t suitable for the surface can lead to poor adhesion or durability.
- Applying thick coats of paint can cause unsightly drips and uneven coverage.
Maintenance and Care
- Clean Gently: Use a soft, damp cloth to wipe down your painted furniture regularly, avoiding harsh chemicals that can damage the finish.
- Avoid Moisture: Keep the furniture away from excessive humidity or water exposure to prevent peeling or warping.
- Use Coasters and Pads: Protect surfaces from scratches, heat, and stains by using coasters, placemats, or felt pads under objects.
- Touch-Up Scratches: Keep a small amount of leftover paint on hand for quick touch-ups to maintain the furniture’s fresh appearance.
- Reapply Sealant: Over time, refresh the protective sealant layer to preserve the durability and look of the finish.
Conclusion
Painting furniture is more than just a way to refresh your space—it’s an opportunity to express your creativity, personalize your decor, and give new life to cherished pieces. Whether you’re transforming a vintage find or updating an old favorite, the process is rewarding and the results can be stunning. By following the right steps and embracing creative ideas, you can create furniture that stands out and lasts for years to come.
Ready to start your furniture makeover journey? Grab your paintbrush, unleash your creativity, and turn your vision into reality. Don’t forget to share your stunning transformations with us—we’d love to see your masterpieces!


