Did you know that a properly sealed roof can save you hundreds of dollars in repairs and utility bills? If you’re tired of leaks and drafts, it’s time to take matters into your own hands with this easy DIY guide of roof sealing.
Your roof is your home’s first line of defense against the elements, and it’s important to keep it in tip-top shape. Over time, weather exposure can cause cracks and leaks, leading to costly repairs. The good news? You don’t have to be a professional to effectively seal your roof! In this guide, we’ll walk you through a simple, step-by-step process for sealing your roof, protecting your home, and even extending the life of your roof. Whether you’re dealing with minor damage or just want to prevent future problems, this DIY project is easier than you think. Let’s get started!
Understanding Roof Sealing
What is roof sealing ?
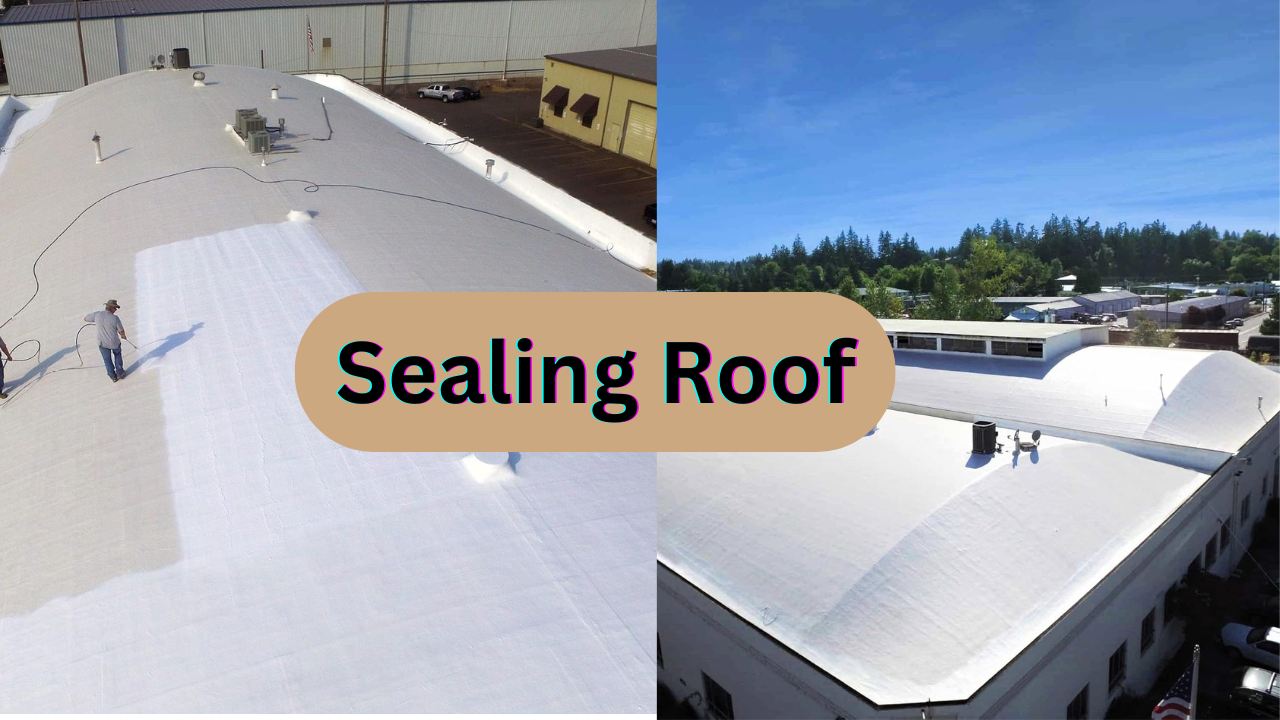
Roof sealing is the process of applying a protective coating to your roof to protect it from leaks, cracks, and weather damage such as rain and UV rays. It creates a waterproof layer that increases durability and extends the life of the roof. Regular sealing helps maintain structural integrity and reduces energy costs by improving insulation. Before sealing, it is important to clean the surface thoroughly—just like you would clean a very dirty laminate floor for the best results. This simple maintenance task can save you from expensive repairs and significantly extend the life of your roof.
Why is sealing your roof important ?
Sealing your roof is essential to protect it from water damage, leaks, and harsh weather conditions like intense sunlight and heavy rain. A sealed roof prevents moisture infiltration, which can lead to costly problems like rotting wood and mold growth. Keeping your roof sealed also improves energy efficiency by reducing heat loss or gain. Just as taking steps to get rid of moldy roofing can help keep your roof healthier and more durable, your home will also be more sustainable. Regular roof sealing not only extends the life of your roof but also saves you money on repairs in the long run.
Common signs your roof needs sealing.
- Visible Cracks or Gaps: Cracks, splits, or open seams in the roofing material can allow water to penetrate, leading to leaks.
- Water Leaks or Stains: Damp spots, water stains on ceilings, or leaks during rain are clear indications of a compromised roof.
- Moss, Mold, or Mildew Growth: The presence of moss or mold on your roof may indicate trapped moisture that sealing can prevent.
- Peeling or Worn-Out Sealant: If the existing sealant is flaking, peeling, or deteriorating, it’s time to reseal your roof.
- Increased Energy Bills: A poorly sealed roof can allow heat or cold to escape, causing a spike in heating or cooling costs.
Tools and Materials
Roof sealant types
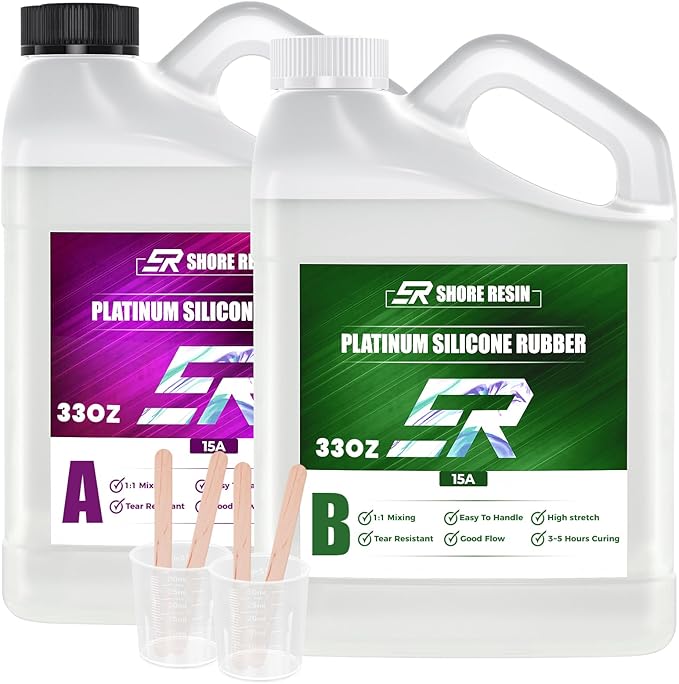
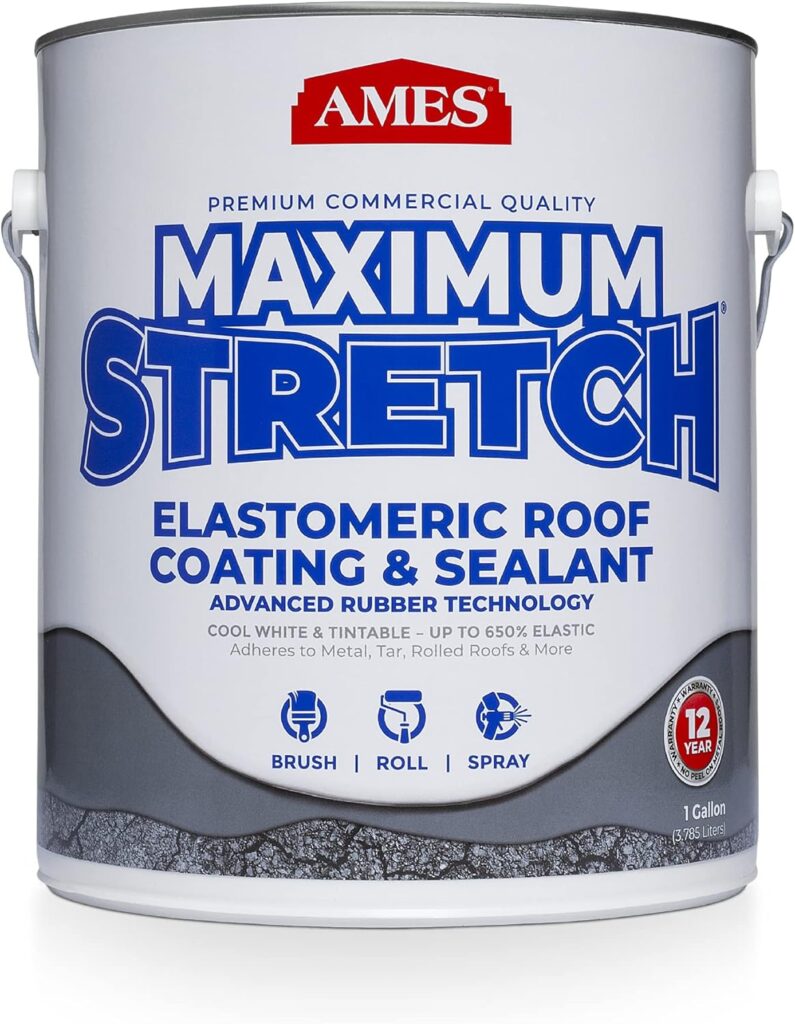
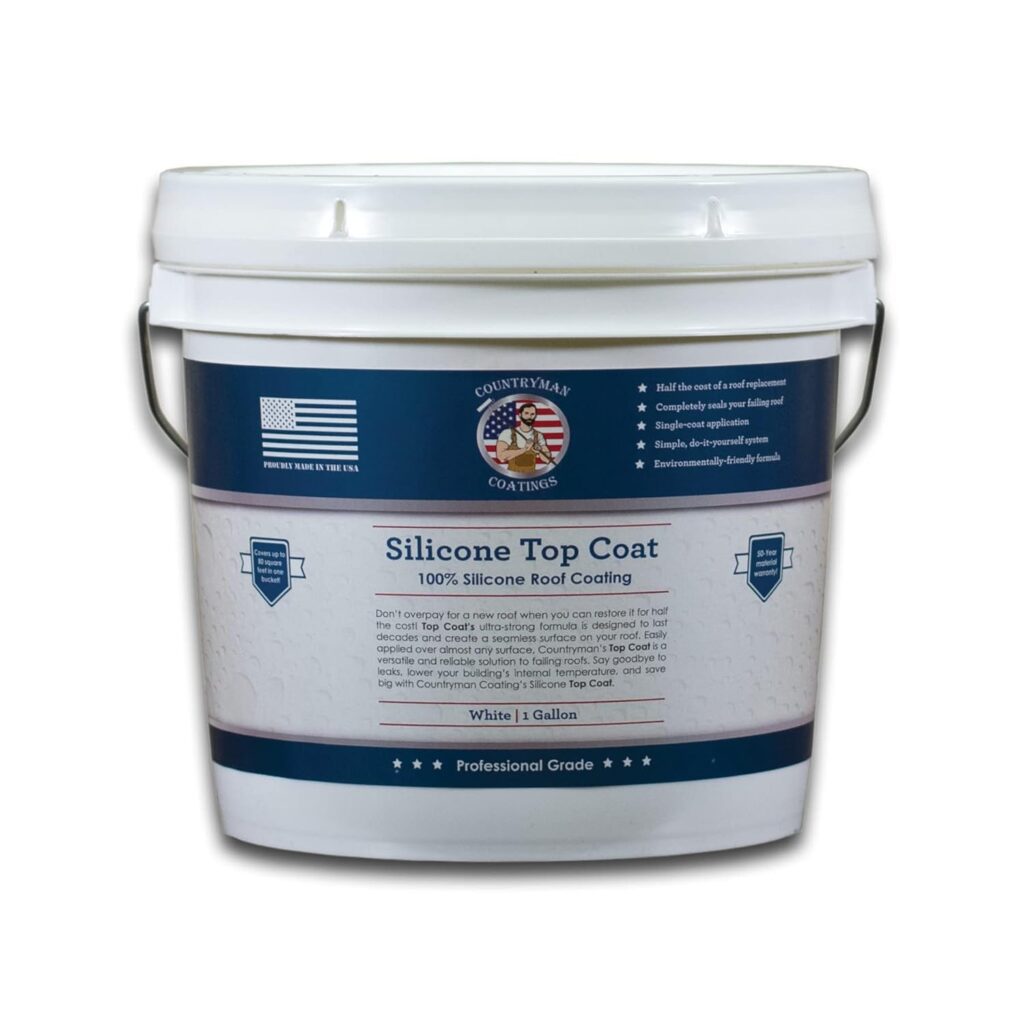
Roof sealants come in a variety of types, each suited to specific roofing materials and needs. Common options include silicone sealants, which are known for their flexibility and durability, acrylic sealants, which are ideal for reflecting UV rays and reducing heat, and polyurethane sealants, which are strong and resistant to harsh weather. Choosing the right type depends on your roof material and climate conditions.
Buy Now
Essential tools
To seal a roof, you will need essential equipment like a sturdy ladder for safe access and non-slip shoes for stability. A roof roller or brush is essential for applying the sealant evenly, and a caulking gun helps with precise application into cracks or edges. Don’t forget cleaning tools like a broom or pressure washer to prepare the surface and safety gear like gloves and goggles for protection.
Preparing for the Job
Before sealing your roof, proper preparation is essential to ensure the best results. Start by thoroughly inspecting your roof for any damage, such as cracks, holes, or loose material, and make any necessary repairs. Roof cleaning is essential to remove dirt, debris, mud, or old sealant, as a clean surface ensures that the sealant will adhere properly. Safety should always be a priority—use a sturdy ladder, wear non-slip shoes, and consider protective gear if needed. Finally, choose a day with favorable weather, as sealing works best in dry conditions without rain or extreme heat.
Step-by-Step Roof Sealing Process
1: Choosing the right day and weather conditions
Choosing the right day and weather conditions is crucial to a successful roof sealing project. Aim for a clear, dry day with moderate temperatures, ideally between 50°F and 85°F, to ensure that the sealant will adhere and cure properly.
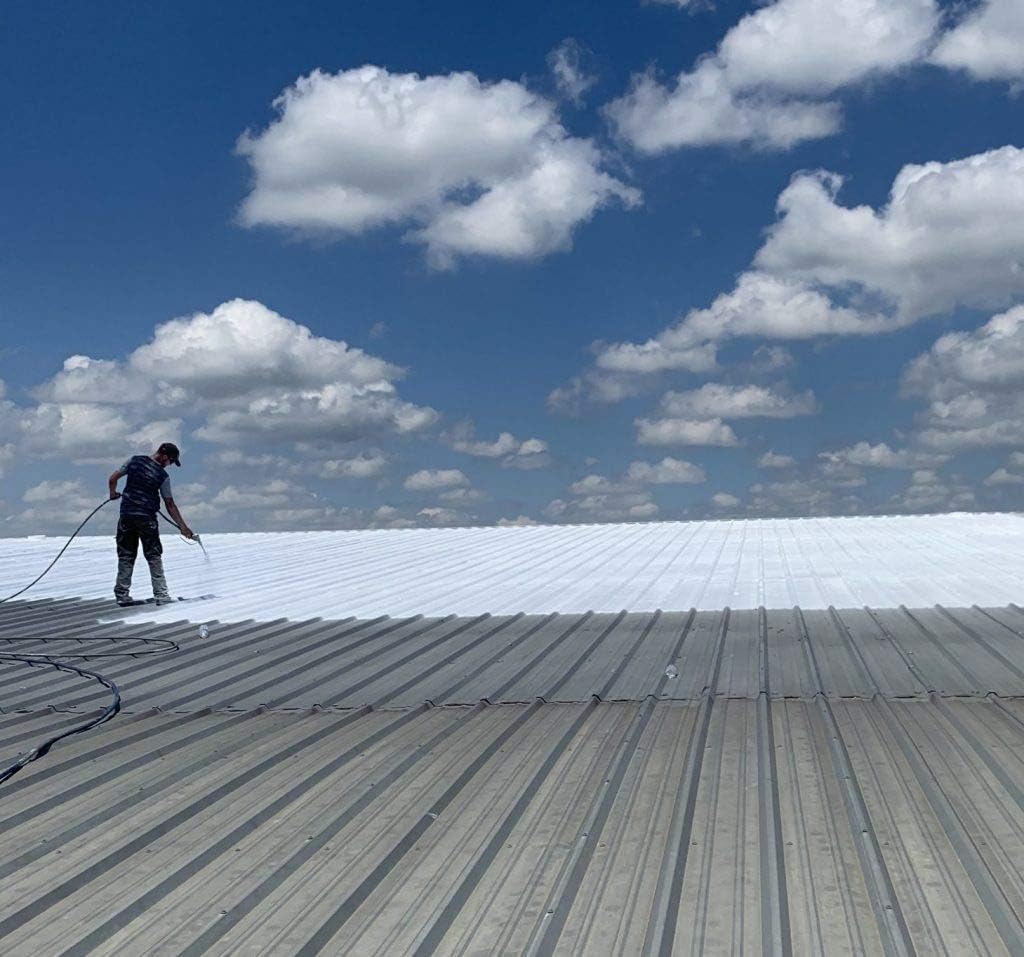
Avoid working during rainy or humid conditions, as moisture can prevent the sealant from effectively bonding to the roof surface. Similarly, extremely hot days can cause the sealant to dry too quickly, which can make its application uneven. Check the weather forecast for at least 24 to 48 hours of dry weather to give the sealant enough time to set. Proper timing not only improves sealing results but also makes the process safer and more efficient.
2: Applying a primer (if needed)
It may be necessary to apply a primer before sealing your roof, depending on the type of roof and sealant you are using.
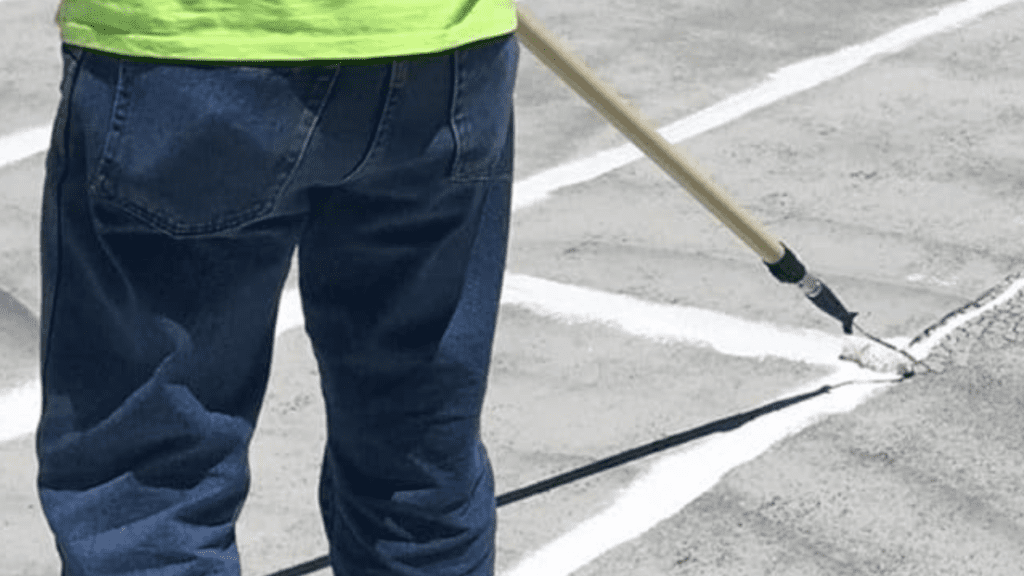
Primers are designed to increase the adhesion of sealant, especially to porous or uneven surfaces such as concrete, metal, or old roofing materials. To apply primer, start by making sure the surface is clean and dry, as dirt or moisture can interfere with bonding. Use a brush or roller to apply a thin, even coat of primer, and allow it to dry completely according to the manufacturer’s instructions. Skipping this step when recommended may result in a weaker seal and reduced effectiveness of the roof seal. Always check the sealant product label to determine if a primer is required for your specific roof type.
3: Evenly applying the sealant
Applying sealant evenly is key to ensuring a durable and long-lasting protective layer on your roof. Start by pouring a small amount of sealant onto the roof surface and use a roller or brush to spread it in smooth, even strokes.
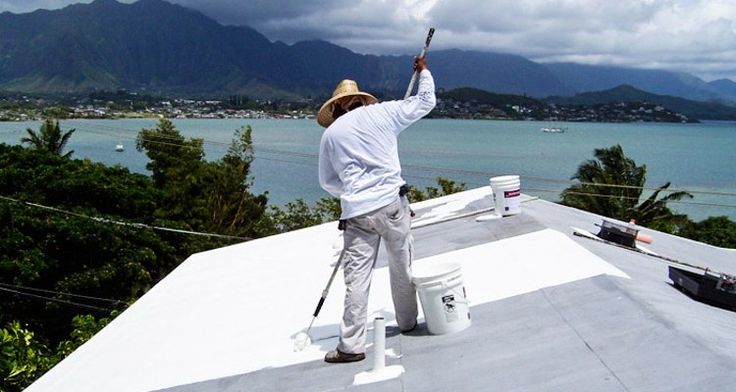
Work in manageable sections to avoid uneven coverage or missed spots, and pay extra attention to seams, cracks, and edges where leaks are more likely to occur. Just as you will ensure thoroughness when learning how to clean wood floors, consistency and maintenance during use will yield better results. Allow the sealant to dry according to the manufacturer’s instructions, and apply additional coats as needed for better protection.
4: Allowing proper drying and curing time
It is important to allow adequate drying and curing time for a roof sealant to form a strong, durable bond. After applying the sealant, follow the manufacturer’s instructions for drying time, which typically ranges from a few hours to a full day, depending on the product and weather conditions
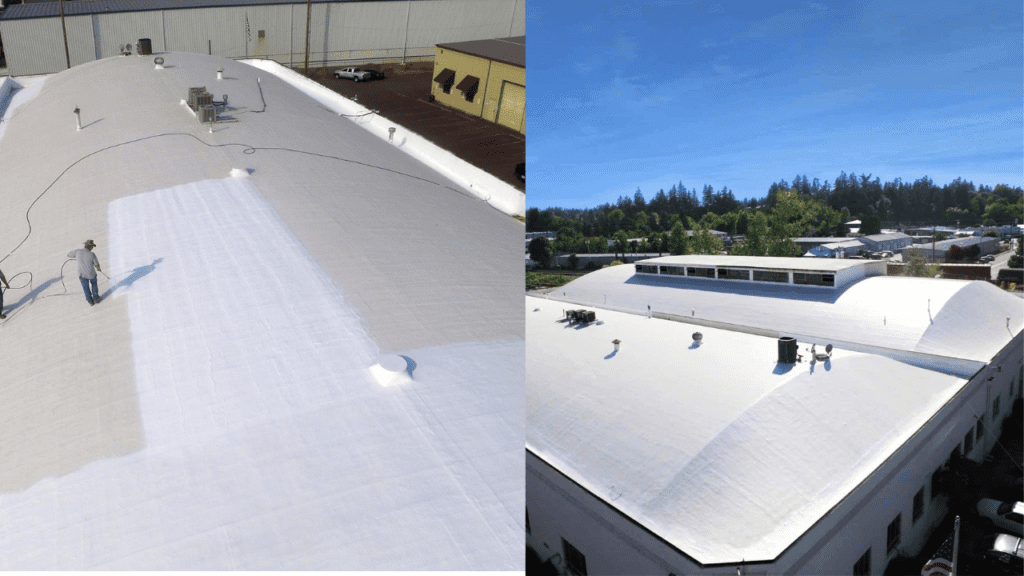
. Avoid walking on the roof or exposing it to moisture during this period, as this can disrupt the curing process and weaken the seal. Ideally, choose dry weather to ensure uninterrupted curing, which can take up to 48 hours for some sealants. Patience during this stage ensures a long-lasting and effective seal, protecting your roof for years to come.
Troubleshooting Common Issues
Sealant Peeling or Cracking: This may occur if the surface wasn’t cleaned properly or if the weather was too humid or cold during application. To fix this, remove the damaged sealant, clean the area thoroughly, and reapply the sealant under optimal conditions.
Uneven Application: If you notice uneven thickness or missed spots, the sealant may not provide full protection. Apply an additional layer, ensuring consistent coverage with a roller or brush, focusing on problem areas.
Leaks After Sealing: Persistent leaks could indicate that cracks or holes weren’t adequately repaired before sealing. Inspect the roof for missed damage, patch the area, and reseal it.
Sealant Fails to Cure: This is often due to applying the sealant in unsuitable weather, such as rain or extreme temperatures. Check the weather forecast and reapply the sealant when conditions are dry and within the recommended temperature range.
Discoloration or Bubbling: These issues can result from trapped moisture or improper drying. Remove the affected section, allow the area to dry completely, and reapply the sealant carefully.
Conclusion
Sealing your roof is one of the most effective ways to protect your home from leaks, weather damage, and unnecessary energy costs. By following these simple steps—preparing the surface, choosing the right sealant, and applying it correctly—you can extend the life of your roof and enjoy peace of mind. Regular maintenance and timely resealing ensure that your home remains safe and efficient year-round.
Your roof is your home’s first line of defense—don’t let it go unprotected. Start your roof sealing project today and enjoy the peace of mind that comes with a durable, leak-free roof. With minimal effort, you can protect your home, avoid expensive repairs, and significantly increase your roof’s lifespan. Take action now and make your home safe for years to come! if you got benefits from our guide so do not forget sharing your thoughts with us.

