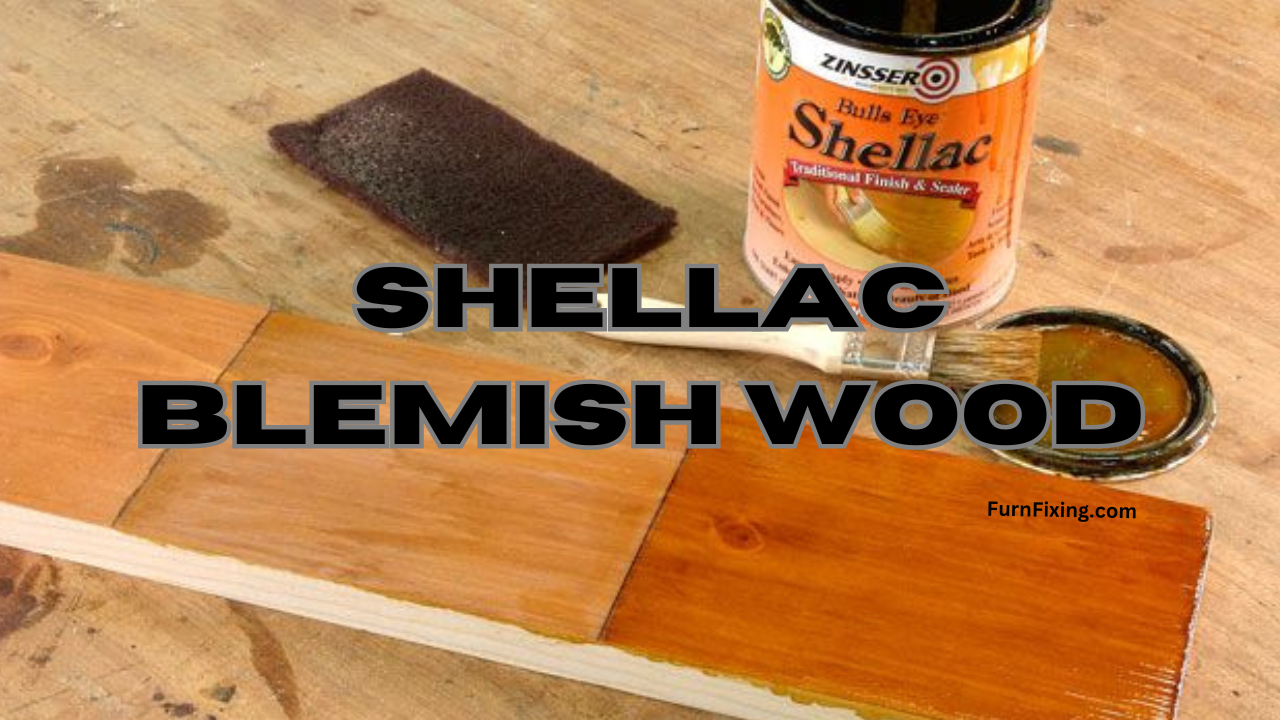
Are wood imperfections getting in the way of your DIY success? Look no further than shellac blemish wood stain, a versatile and highly effective solution that has been the secret weapon of woodworkers for generations. This natural resin, derived from the lac moth, not only hides imperfections but also enhances the beauty of your wood surfaces with a smooth, glossy finish. Whether you’re restoring furniture, creating a custom piece, or just looking for that professional touch, shellac wood stain is the answer to your prayers.
In this blog, we’ll dive into what makes shellac wood stain so remarkable, its benefits, and how you can use it to take your woodworking projects to new heights. Read on to find out why this centuries-old technique is still a favorite among DIY enthusiasts and professionals alike!
1. What is Shellac ?
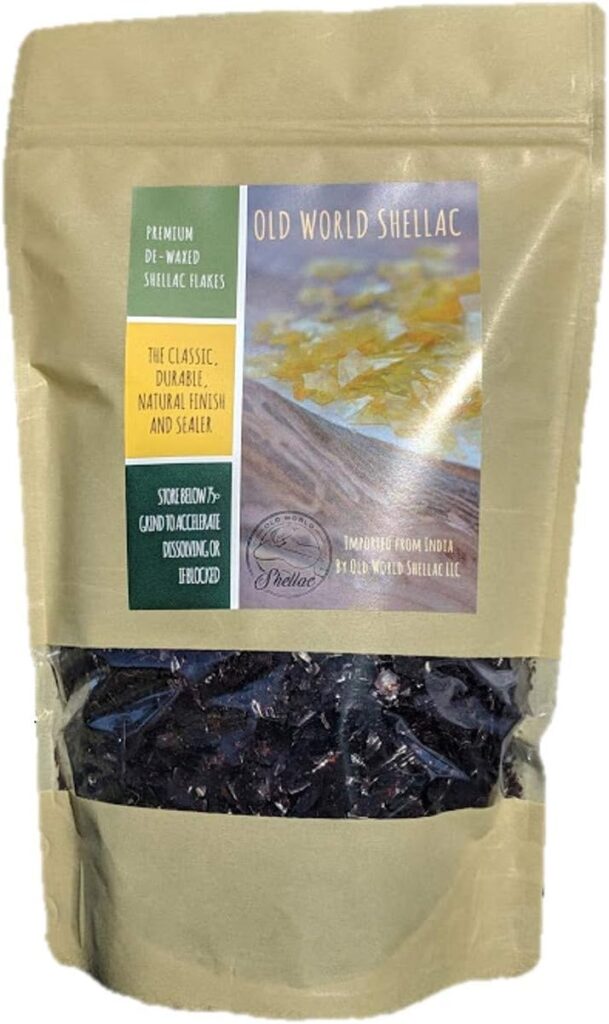
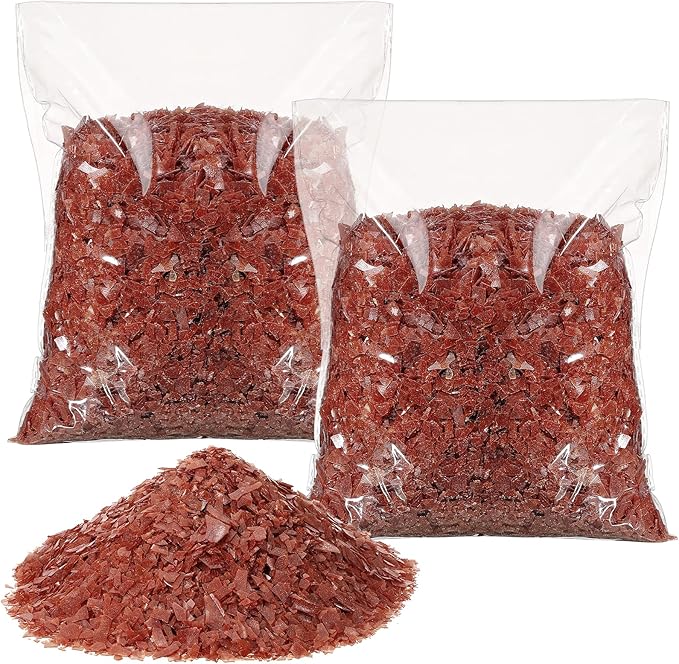
Shellac is a natural resin derived from the secretion of the lac insect, which is found primarily in India and Southeast Asia. This versatile substance has been used as a wood finish for centuries, thanks to its unique properties and aesthetic appeal. Shellac comes in the form of flakes that are dissolved in alcohol to create a liquid solution, which can then be applied to wooden surfaces. Known for its ability to enhance the natural beauty of wood, shellac creates a smooth, glossy finish that brings out the grain and depth of the material. It is quick-drying, easy to apply, and highly adaptable, making it suitable for a wide range of applications, from furniture restoration to decorative woodwork. Additionally, shellac is non-toxic and environmentally friendly, adding to its appeal to DIY enthusiasts and professional woodworkers alike. Whether used as a standalone finish or as a primer for other coatings, shellac remains a staple in the woodworking world.
2. Benefits of Using Shellac Wood
Using shellac as a wood finish offers a number of benefits that make it a preferred choice for both beginners and experienced woodworkers, especially when learning how to effectively polish furniture. Shellac creates a beautiful, glossy finish that highlights the natural grain and texture of the wood, and elevates the overall aesthetic of any piece. Its quick-drying nature allows for easy layering, helping users create a durable, polished surface in less time than other finishes. One of the key benefits of shellac is its ability to fill in minor blemishes and smooth imperfections, giving even poor surfaces a flawless, professional look. Additionally, shellac is non-toxic and environmentally friendly, making it safe for indoor use and ideal for projects such as children’s furniture or kitchen items. For those thinking about refinishing furniture, shellac provides an easy-to-use solution that requires minimal skills and tools, making it an accessible choice for DIY enthusiasts. Its compatibility with a variety of wood types and other finishes adds to its versatility, whether used as a standalone coating or as a base for additional treatments. Additionally, any scratches or gouges can be repaired simply by reapplying shellac, ensuring that furniture retains its pristine appearance for years to come.
3. Types of Shellac Blemish Wood
1. De-Waxed Shellac
- Has the wax removed, resulting in a clearer and more adhesive finish.
- Perfect for use as a primer or sealer, as it bonds well with other finishes like paint, varnish, or polyurethane.
- Preferred in projects requiring multiple coatings or layers.
2. Waxed Shellac
- Contains natural wax, giving it a rich, lustrous finish.
- Offers moderate water resistance, making it ideal for furniture that doesn’t encounter heavy wear or moisture.
- Best used as a standalone finish to enhance the wood’s natural warmth and grain.
Outline: How to Apply Shellac to Wood
1. Tools and Materials Needed
- Shellac (ready-mixed or flakes and alcohol).
- Sandpaper (various grits: 120, 220, 320).
- Application tools (brush, lint-free cloth, or pad).
- Mixing container (if using shellac flakes).
- Tack cloth for cleaning wood dust.
- Optional: Denatured alcohol for thinning shellac.
2. Preparing the Wood Surface
Proper preparation of the wood surface is an important step when applying shellac, as it directly affects the final finish. Start by inspecting the wood for any imperfections, such as scratches, dents, or uneven grain patterns, and address them before proceeding. Sand the surface thoroughly, starting with a coarse grit sandpaper (such as 120 grit) to remove rough spots, old finishes, or uneven textures.
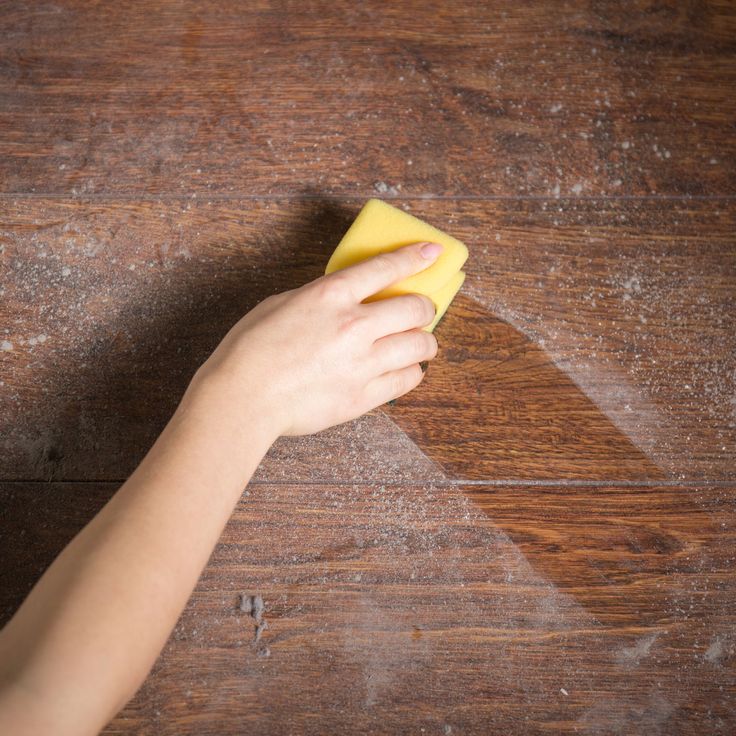
Gradually move to finer grits like 220 and 320 to achieve a smooth, even surface that will allow the shellac to adhere evenly. Be sure to sand in the direction of the grain to avoid creating visible scratches that could affect the finish. After sanding is complete, use a tack cloth or clean, lint-free cloth to wipe away all dust and debris, as even small particles can cause blemishes in the shellac layer. For surfaces with deep imperfections, consider using a wood filler before sanding to create a base for the surface. Taking the time to properly prepare the wood ensures that the shellac will enhance its natural beauty, resulting in a flawless and professional-looking finish.
3. Preparing Shellac
To mix shellac flakes with alcohol, start by choosing the appropriate ratio, commonly called a “cut.” A standard 2-pound cut is often used, which means dissolving 2 pounds of shellac flakes in 1 gallon of denatured alcohol. (or scaling it down, such as 2 ounces of flakes in 1 cup of alcohol for smaller projects). Place the measured shellac flakes in a clean, sealed container, and pour the alcohol over them. Gently shake the mixture to make sure the flakes are completely submerged, then seal the container to prevent evaporation.
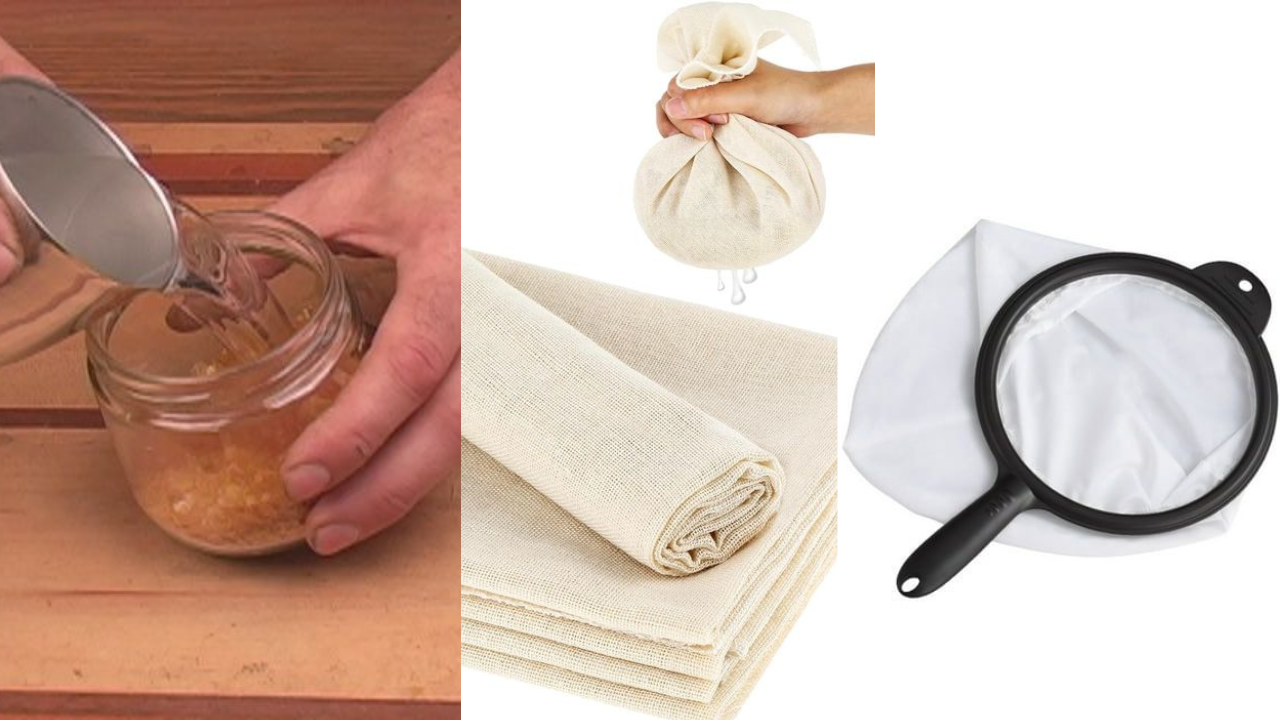
Allow the flakes to dissolve completely, which may take several hours or even overnight, depending on their size and freshness. Shake or shake the container occasionally to speed up the process. Once dissolved, strain the mixture through a fine mesh strainer or cheesecloth to remove any undissolved particles, ensuring a smooth and debris-free solution. The shellac is now ready to use, and you can adjust the consistency by adding more alcohol if needed for the specific needs of the project. Always prepare only as much shellac as you need, as the solution has a limited shelf life once mixed.
Adjusting the ratio of shellac flakes to alcohol allows you to create different consistencies to suit the specific needs of your woodworking project. This ratio, called the cut, directly affects how thick or thin the shellac solution will be and its application characteristics. For example, a 2-pound cut involves dissolving 2 pounds of shellac flakes in 1 gallon of alcohol, which offers a medium consistency for most general-purpose applications. For projects that require a thinner solution, such as sealing or priming wood, you can make a 1-pound cut using half the amount of flakes, resulting in a thinner mixture that penetrates wood surfaces more effectively.

On the other hand, a thicker 3-pound cut is better for creating a durable finish but requires careful application to avoid streaks or brush marks. These adjustments allow woodworkers to achieve the desired effect, whether they are sealing, finishing, or creating a high-gloss, protective layer. By experimenting with different cuts, you can master the art of shellac application and customize the finish to suit the unique characteristics of your project.
Pressing the shellac mixture is an essential step in achieving a flawless, smooth finish, especially if you are dealing with surfaces that require a polished look, such as restoring very dirty laminate flooring. After the shellac flakes have dissolved in alcohol, impurities such as undissolved particles or debris may still be present in the solution, which can cause streaks or an uneven finish when applied. Pour the shellac into a fresh container through a fine-mesh strainer, cheesecloth, or even a coffee filter to ensure a clean and uniform mixture. This process removes all contaminants, ensuring that the shellac applies smoothly without any imperfections. Pressing is especially important when refinishing difficult surfaces, such as very dirty laminate flooring, as it ensures that the final coating will provide a professional, polished result that hides stains and enhances the appearance of the floor.
4. Application Process
Applying shellac requires a careful, step-by-step approach to achieve a smooth and professional finish, especially when working on wood surfaces that have been treated, such as in projects to bleach wood. Start by choosing the right tool to use—a natural bristle brush, a lint-free cloth, or a foam pad, depending on the size and detail of the surface. Gently stir the shellac to ensure consistency, and avoid shaking it to prevent air bubbles. Lightly dip your brush or cloth into the shellac, making sure it is not overloaded to prevent drips or uneven application.
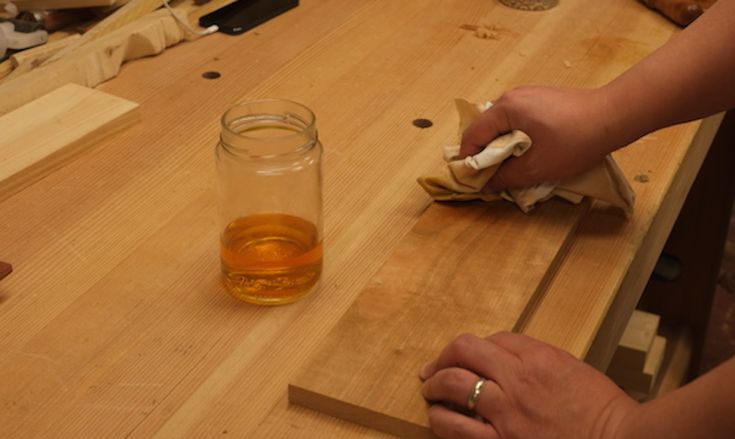
Apply the first coat using long, even strokes in the direction of the wood grain, which ensures an even finish and enhances the natural texture of the wood. Allow the coat to dry completely, usually within 30-60 minutes, depending on humidity and the thickness of the shellac. Once dry, lightly sand the surface with fine-grit sandpaper (320 or higher) to remove any raised grain or imperfections, then buff the surface with a tack cloth. Repeat the process for additional coats, applying 2-4 coats for a durable, glossy finish. This method is especially effective for treated wood, such as when preparing surfaces after learning how to bleach wood, because shellac seals and enhances the appearance of the wood while protecting it from moisture and wear. By following these steps, you can achieve a flawless, polished finish that highlights the wood’s natural beauty.
5. Sanding Between Coats
- Wait for Full Drying – Allow each coat to dry completely before sanding.
- Use Fine Grit Sandpaper – Choose 320-grit or finer to smooth the surface.
- Light Sanding – Sand lightly to remove imperfections without removing too much shellac.
- Clean the Surface – Wipe away dust with a tack cloth before applying the next coat.
- Repeat for Multiple Coats – Sand between each layer to ensure a smooth, flawless finish.
6. Adding Additional Coats
- Applying 2-4 coats depending on the desired finish.
- Choose the Right Tool – Use a clean, high-quality brush or cloth suitable for your project.
- Stir, Don’t Shake – Stir shellac gently to avoid air bubbles.
- Work with Thin Coats – Apply thin, even coats for better control and faster drying.
- Use Long, Even Strokes – Apply shellac following the wood grain for a uniform finish.
- Control the Amount – Avoid overloading the brush; tap off excess.
- Start at the Edges – Begin at the edges to prevent pooling in the center.
- Check for Drips – Smooth out any drips immediately while the shellac is still wet.
- Sand Between Coats – Lightly sand after each coat for a smooth base.
- Work in Ideal Conditions – Apply shellac in a controlled, moderate environment.
7. Finishing Touches
Once the final coat of shellac has dried, it’s time to add the finishing touches to ensure a flawless, professional finish. Start by buffing the surface with a soft cloth or polishing pad to achieve a smooth, shiny finish. If you prefer a more subtle, matte finish, use a fine abrasive pad or steel wool to gently reduce the shine. Carefully inspect the surface for any drips or imperfections, and use the cloth to rub them away before the shellac is fully cured. Allow the piece to cure for 24-48 hours before handling, ensuring maximum durability and hardness. For added protection, you can apply a top coat, such as a clear wax or varnish, to enhance the finish and provide an extra layer of durability. These final steps will give your wood project a polished, high-quality look while preserving its beauty for years to come.
8. Common Mistakes to Avoid
- Overloading the brush or pad with shellac.
- Not sanding between coats.
- Using dirty or lint-filled tools.
Conclusion
Shellac is a timeless and versatile wood finish that enhances the beauty and durability of any project. From its ease of use to its rich, natural shine, shellac offers unparalleled benefits for beginners and experts alike. Whether you’re restoring furniture, sealing treated wood, or learning how to bleach wood, mastering shellac application can transform your woodworking projects into stunning, professional-grade creations. So why wait? Grab your tools, embrace the process, and let shellac do the best work in your woodworking—because every masterpiece deserves a finish that lasts!
